


In today's automated electronic manufacturing era, the stencil printer on a Surface Mount Technology (SMT) line serves as the critical "first gate" for high-precision component assembly. According to industry statistics, over 60% to 70% of SMT assembly defects originate from poor solder paste printing. The root cause of these printing failures is almost always the accumulation of solder paste residue on the bottom of the stencil and clogged apertures.
To ensure a high yield rate for every single PCB, cleaning the SMT stencil efficiently and systematically is a core daily routine on the factory floor. Today, from the perspective of a high-efficiency production line, we bring you a practical, step-by-step guide to cleaning SMT stencil printers.
Why Is Stencil Printer Cleaning So Critical?
During the printing process, as the squeegee moves back and forth, a small amount of solder paste inevitably squeezes out and remains on the underside of the stencil. If left untreated, this residual paste triggers a domino effect of production issues:
- Bridging: Solder paste on the bottom of the stencil transfers to non-pad areas of the next PCB, causing electrical short circuits.
- Insufficient Solder: Solder paste dries up inside the stencil apertures, blocking subsequent paste release.
- Solder Balls: Microscopic solder balls scatter and remain on the board surface, creating potential electrical hazards after reflow soldering.
- Therefore, maintaining an pristine stencil surface is the absolute foundation of zero-defect soldering.
SMT Stencil Cleaning: A Step-by-Step Standard Operating Procedure
Below is the standard automated and manual cleaning process widely adopted in industrial manufacturing:
Step 1: Activate the Automated Wiping System
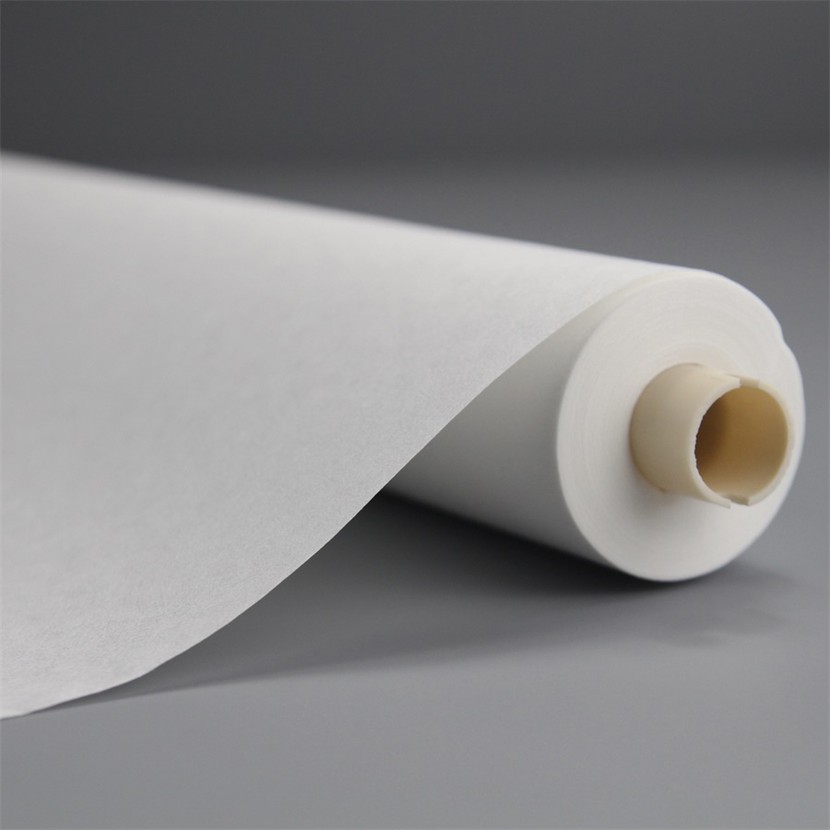
Modern SMT stencil printers come equipped with automatic wet/dry cleaning systems. During production, the equipment automatically triggers the cleaning mechanism based on a preset PCB print count (e.g., every 5 to 10 boards). The system evenly sprays dedicated stencil cleaning solvents (either solvent-based or water-based) through nozzles. It then drives a high-quality SMT Wiper Roll across the bottom of the stencil, executing a synchronized "wet wipe, dry wipe, vacuum" combination. This step rapidly clears the majority of residues inside the apertures.
Step 2: Intermittent Manual Inspection and Spot Cleaning
While automated systems are highly efficient, technicians still need to perform manual visual inspections during shift handovers or product changeovers. If any clogging is detected in micro-apertures for high-density components (like 01005 components or fine-pitch BGA pads), manual spot cleaning is required using a lint-free cleanroom wipe slightly dampened with solvent.
Production Line Tip: When wiping manually, apply gentle pressure vertically along the direction of the apertures. Never scrub harshly in a horizontal direction, as this can distort the stencil or damage the tension around the aperture edges.
Step 3: Vacuum Aperture Clearance
For extremely microscopic apertures, surface wiping alone may not completely clear dried solder paste from the inner walls. In this case, utilize the printer's built-in vacuum suction feature in tandem with the rolling SMT Wiper Roll to thoroughly pull out the paste trapped deep inside the fine gaps, restoring the aperture's exact geometric shape.
Step 4: Final Drying and Solder Paste Inspection (SPI)
After cleaning, ensure the stencil surface is completely dry. Any residual cleaning solvent mixed into the solder paste will alter its viscosity, causing dangerous voids during reflow as the liquid vaporizes. Once dry, verify the cleaning results via the machine's built-in 2D/3D visual inspection system (or a post-print SPI machine) to confirm 100% clear apertures.

Factory Experience: How to Choose Core Cleaning Consumables?
Throughout the entire cleaning process, the material that directly contacts the stencil and bears the responsibility of removing contamination is the wiping fabric. As a manufacturing facility, we apply strict Material Control Standards (BOM auditing) when selecting an SMT Wiper Roll:
- Ultra-Low Linting: Standard paper or inferior non-woven materials shed fibers easily. If these fibers fall onto the solder pads, they directly cause solder voids or open circuits. Premium wiping paper must be made from a high-purity hydroentangled blend of polyester and woodpulp.
- Excellent Absorbency and Locking Power: The fabric must quickly absorb and lock in solvents and diluted solder paste, rather than simply smearing the residue evenly across the stencil surface.
- High Tensile Strength and ESD Protection: Under the high-speed traction of automated mechanical shafts, the roll must never tear or fray. Additionally, it requires excellent anti-static properties to prevent the secondary adsorption of airborne micro-dust.

High-precision electronics manufacturing always comes down to these seemingly minor process details. Implementing a standardized cleaning workflow, paired with industrial-grade SMT Wiper Roll consumables, significantly minimizes machine downtime caused by printing defects and ensures the delivery of stable, top-tier PCB assemblies to your clients.